Free returns
 Quick delivery
 Established 1933
Growing squash – The art of growing gourds successfully
18 May 2022Squashes go by many names – gourds, zucchinis, courgettes, mini pumpkins.
Squashes are one of the easiest vegetables to grow in the garden. Though they aren’t technically a vegetable, they are actually a herb, and the squash is the fruit of the herb. Squashes are great to grow because they grow like crazy and produce large harvests.
A versatile plant
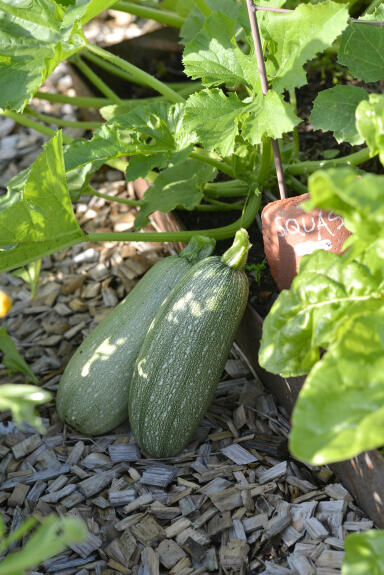
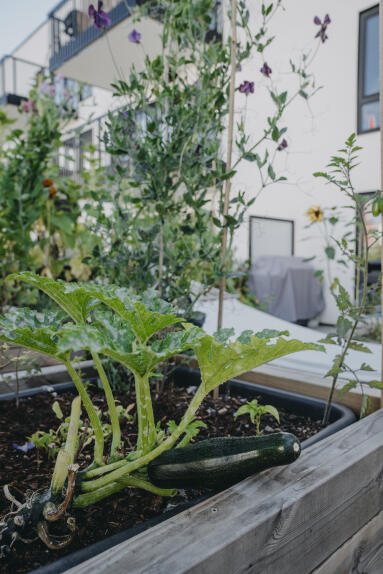
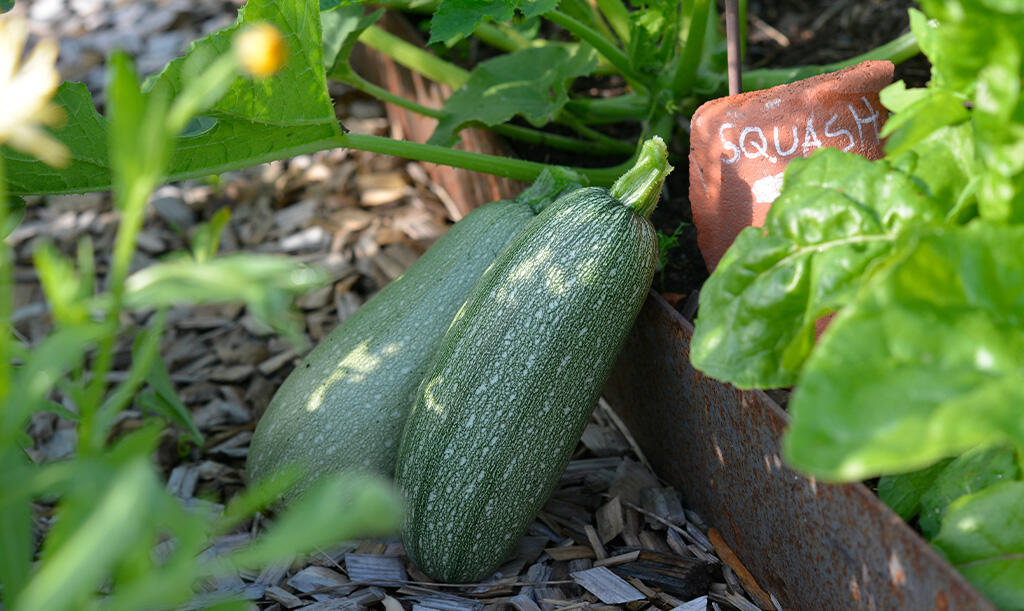
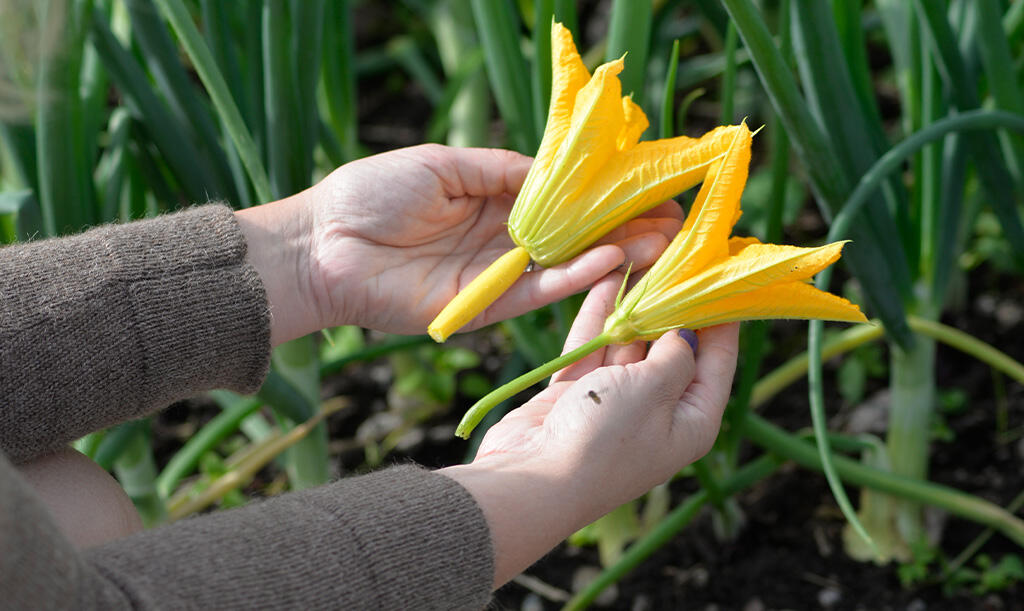
Squash can be grown anywhere, in a 10-litre pot on a warm balcony or terrace, in a pallet collar, in the garden, in a greenhouse, or even right on top of the compost heap. The most important thing is that the area has plenty of hours of sunshine every day and that there is enough space. Summer squash is harvested and eaten in summer, when the fruits are about 15 cm long. The more you harvest, the more fruits the plant will produce. Winter squash (or pumpkin as it is also known) has slightly firmer flesh and is harvested in late summer or early autumn. This gives it time to form a thicker skin so it’s suitable for storing. Winter squash can be stored at normal room temperature for several months. You can also eat the blossoms the squash produces.
TIP! If you don't have time to use up all the summer squash it can be frozen. Cut it into slices or chunks, cook for a minute, then leave to cool and put in the freezer. It’s great to have on hand for rich winter stews!
Growing squash
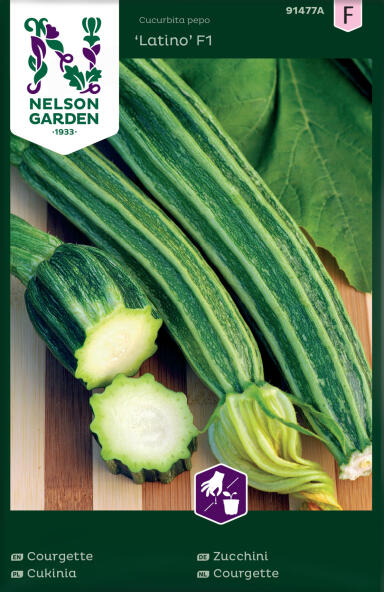
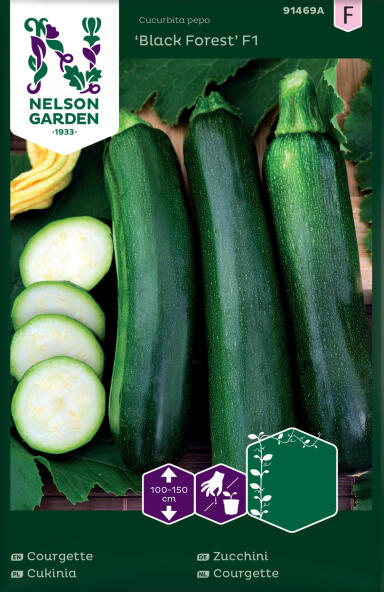
Since squash plants are sensitive to frost and also grow quickly, you need to wait until early May before sowing your squash. Starting seeds takes between 2 and 4 weeks and it is best to plant them out in June when frost-free conditions are guaranteed. Find your favourite variety in our seed range. For example, try our ‘Black Forest’ or ‘Ola Escaladora’ climbing varieties, which are easy to harvest as the fruit develops higher up the plant.
The three sisters
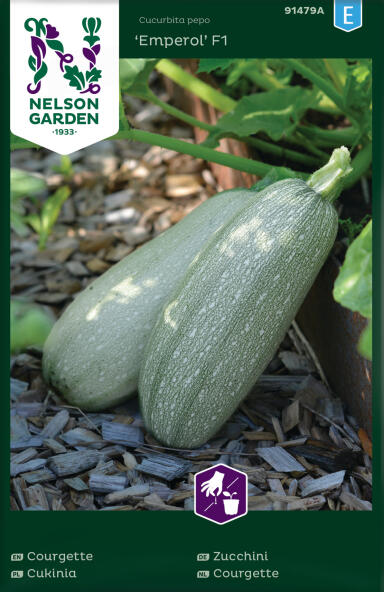
A good cultivation method for small areas is called ‘The Three Sisters’. It involves growing sweetcorn, squash and beans together in a small group. The corn will grow tall, so that the beans can climb on it. The beans fix nitrogen in the soil, giving the squash plenty of nutrients. The squash covers the soil and prevents weeds from taking hold. Growing different crops together is also good for the insect life in your garden. Suitable varieties to choose for The Three Sisters Method are ‘Sweet Nugget’ or ‘Golden Bantam’ corn varieties, ‘Emperol’ or ‘Black Beauty’ squash varieties, and ‘Blue Lake’, ‘Carminat’, or ‘Neckargold’ bean varieties. See our seed range for more varieties.
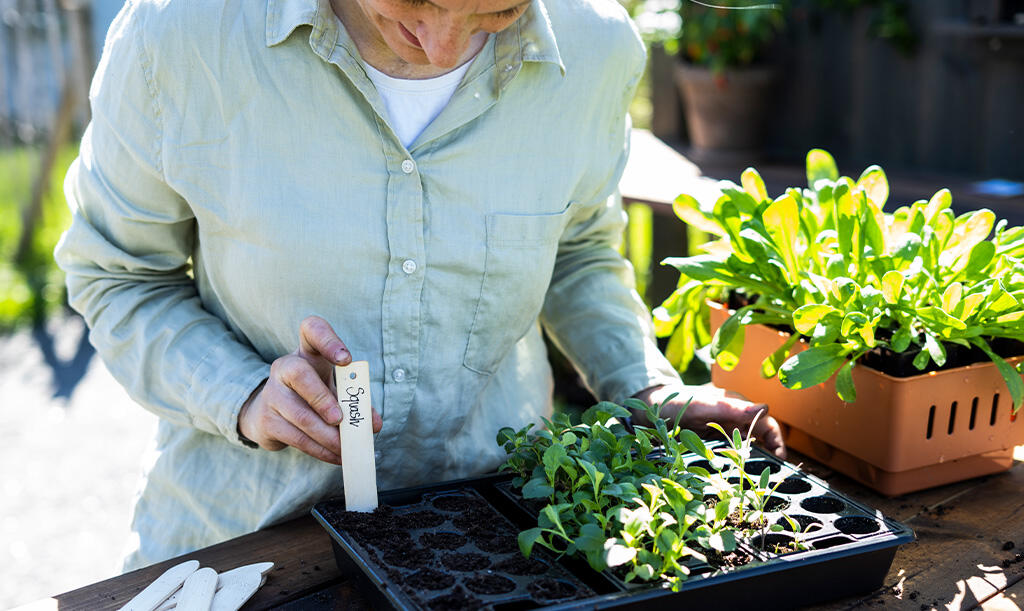
Sowing squash indoors
- Fill seed pots with soil, ordinary potting soil is fine. Moisten the soil slightly with water, then plant one seed per pot, 2 cm deep.
- Cover the pots with a transparent lid with air holes and put them in a warm place, preferably on a heat pad, so the soil retains moisture and the seeds germinate faster.
- Once the seeds have germinated, place them in a cooler area that still gets lots of light – choose your brightest window or use plant lighting.
- As soon as the plants show their first true leaves (the leaves that come after the cotyledons), it's time to move them to larger pots, known as transplanting, and more nutrient-rich soil. Hold the plant by the leaves and be careful with the delicate roots. Plant at the same depth in the new pot as the old one to prevent root rot.
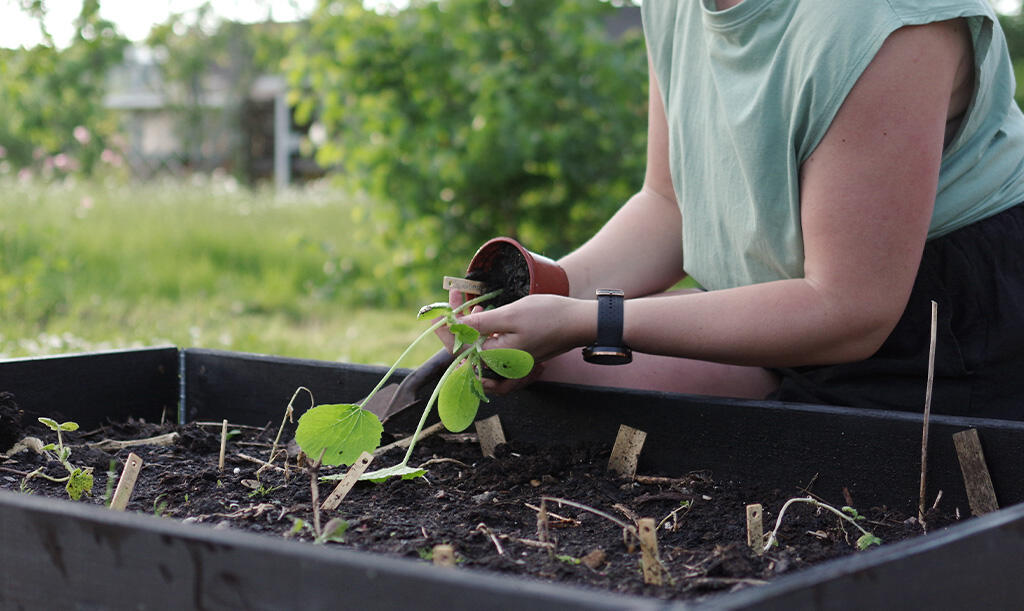
- After 2–4 weeks, the plants are ready to be hardened off (read more about hardening off below) and planted outside in warm, nutrient-rich soil.
TIP! Water the seedlings with Biohumus tea, or mix Biohumus into the soil to make the plants stronger and more resistant to pests and diseases such as mildew and root rot.
Hardening off
It is important to harden off the plants before planting them outside. This means spending a week or two getting the plants used to the outdoor environment. Put the plants outside every day in a shady, protected spot, preferably covered with fibre cloth. Start with a couple of hours, then increase the time. Acclimatise them to sunlight slowly too so the leaves don’t get burnt. Once the plants are at their final growing site, protect them with fibre cloth until they start to flower.
Sowing squash outdoors
In southern Sweden, squash can be sown outdoors when the soil is at least 15°C. Use a soil thermometer! Cover the seeds with fibre cloth, as squash really loves heat and will not germinate if it is too cold.

Growing site and care
As squash is a sun worshipper, choose a spot with plenty of sun. The soil should be humus-rich and preferably contain compost to retain moisture. Fertilise frequently and generously, either with a balanced fertiliser that is not too high in nitrogen relative to phosphorus and potassium, or with a natural fertiliser. The plant needs a lot of energy to be able to grow quickly and produce lots of fruit. Water often, but avoid getting water on the leaves. Remove dead plant matter as well as older leaves that are near the ground to keep the plant airy and make room for the fruit. Cover the soil’s surface with straw or similar material to keep the soil cool and moist, and to protect the fruit from dirt and damage.
Since squash grows into a large plant, the spacing between plants needs to be 100 centimetres.
Propagation
Squash can be propagated using seeds or cuttings. Taking seeds from home-grown squash works, but there can be unexpected results when you grow the seed because it likes to cross-pollinate with other cucurbit plants. You can also take cuttings from side shoots. Cut off the shoot and plant it in soil, if you are lucky new roots will form. This needs to be done early in the season, if you take the cutting in the middle of the summer or later, the plant will not have time to produce fruit.
Squash FAQs:
The flowers fall off and there is no fruit:
- The first flowers that form on squash are usually male flowers. Since they do not produce fruit, they fall off once they have finished flowering. Once the plant is established in its growing area and the soil has become warm and pleasant, the female flowers appear. You can recognise a female flower by the fact that it has a small fruit embryo on the flower stalk, just behind the flower. This is what grows into a squash.
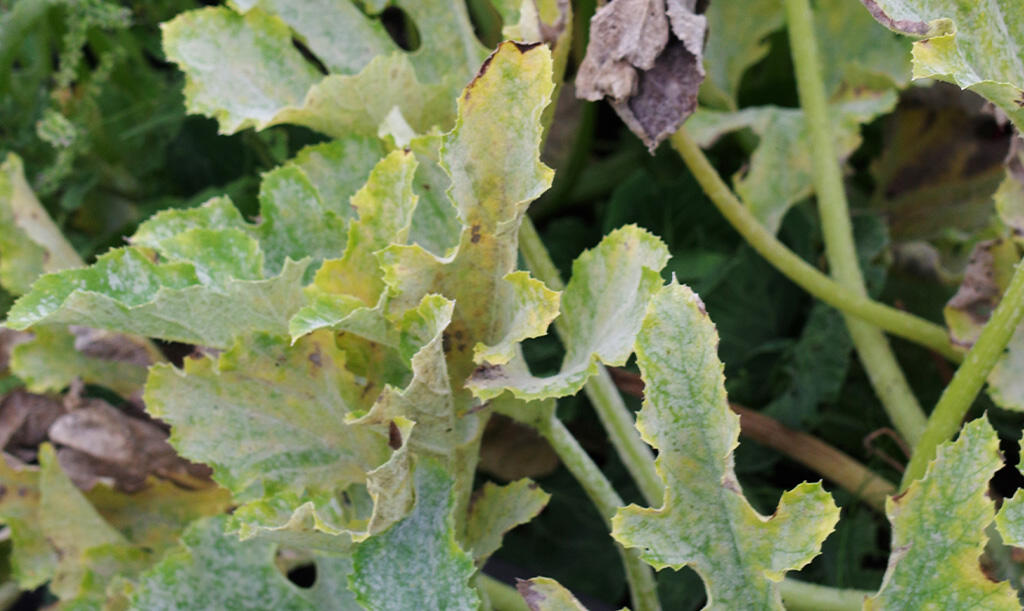
There is white “powder” on the leaves:
- The white powder is usually powdery mildew, a fungal disease that affects plants that have not been given enough water. Unlike other fungi, powdery mildew thrives in dry, sunny conditions. To tackle powdery mildew, remove all affected leaves, including those that have fallen off under the plant. Do not put them in the compost, as this could spread the infection to other plants. Improve the soil with Biohumus Terra, which strengthens the plant against diseases, or with composted soil, so that the soil holds water better. Then fertilise, and add a layer of straw or other mulching material to the soil’s surface. Water the squash plants regularly to prevent powdery mildew.
The stalk looks like it is rotting at the soil’s surface:
- The plant has probably got root rot. This is a fungus that causes the stem to rot and the plant to die. Squash is susceptible to root rot, especially when the plants are small. When transplanting to a larger pot, make sure the plant is at the same depth as before, preferably building up a small mound of soil so that water does not pool around the stem. Preferably water the saucer (bottom watering) rather than the soil’s surface to avoid having too much water around the stem.
TIP! Cover the soil’s surface with vermiculite when transplanting to avoid root rot.
Good luck with your squash cultivation!