Build a seedling shelf
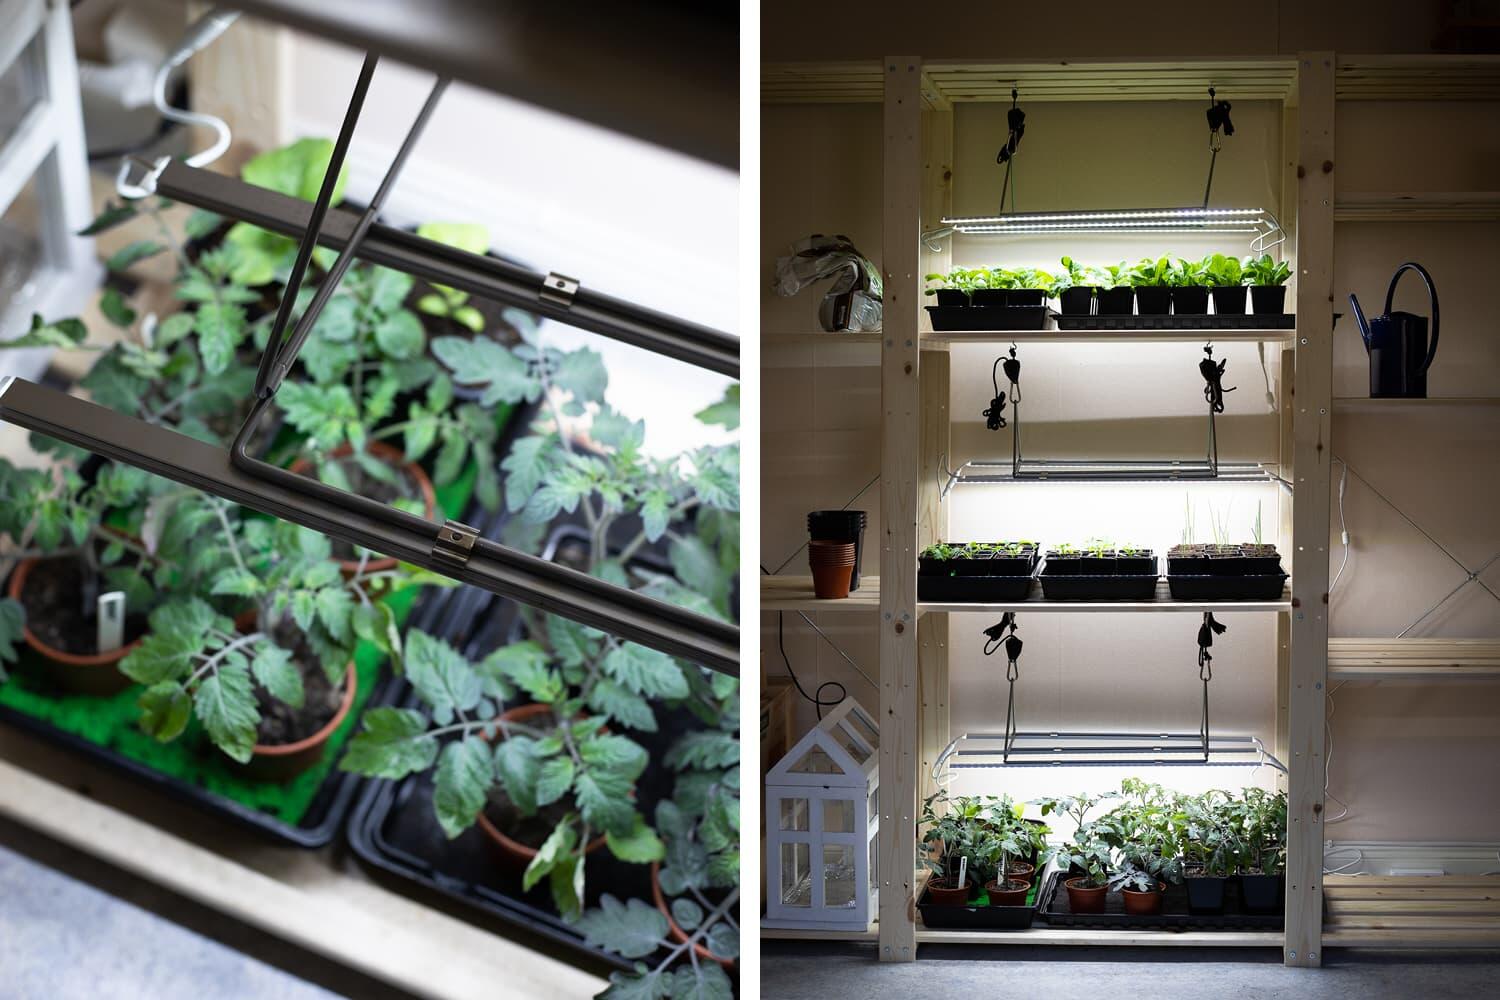
23 June 2022Starting seeds doesn’t take up much space at first, but when the plants need to be repotted in larger pots, more space is required. One way to maximise your area for starting seeds is with a seedling shelf – check out our step by step guide on how to build your own. You won’t regret your hard work!
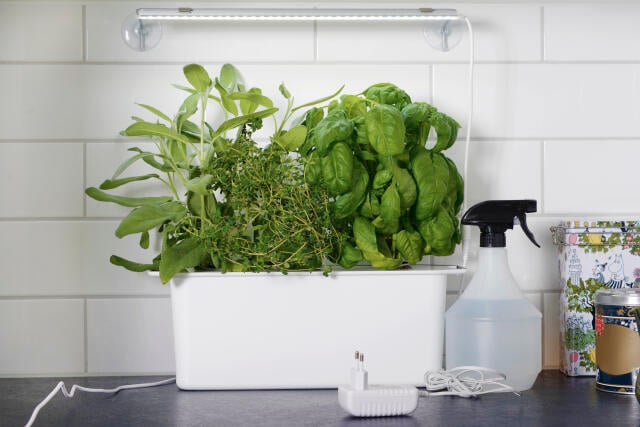
Do you have plants all over your home in the spring when propagation is underway? Don’t worry, it’s a common sight in a gardener’s home in spring – every window is cluttered with tiny plants and there’s barely room to eat at the kitchen table. A seedling shelf makes starting seeds easy and efficient. We’ve put together a guide to help you keep your seeds in order.
What you’ll need:
Shelving unit (minimum 70 cm wide and 45 cm deep)
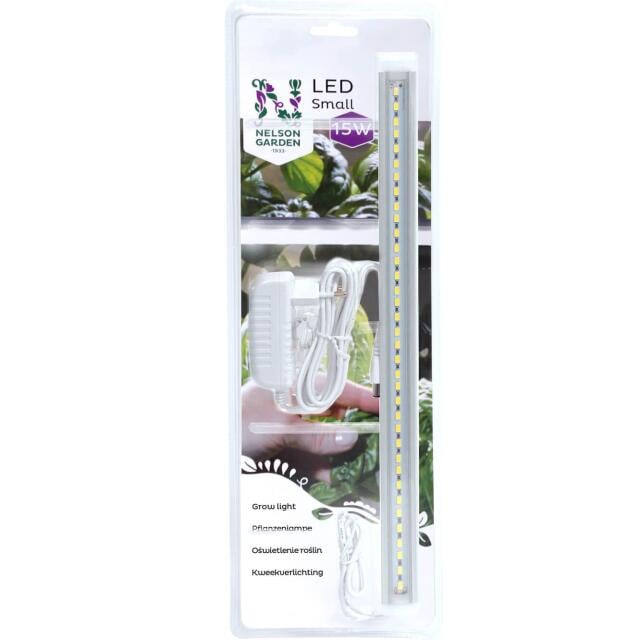
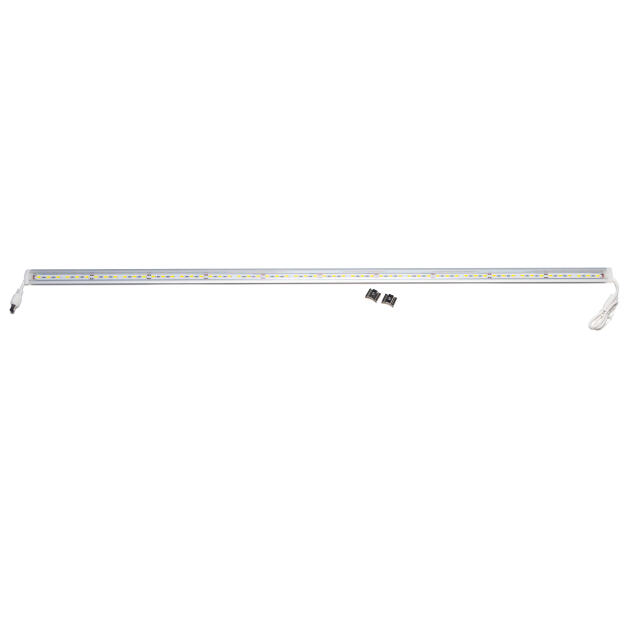
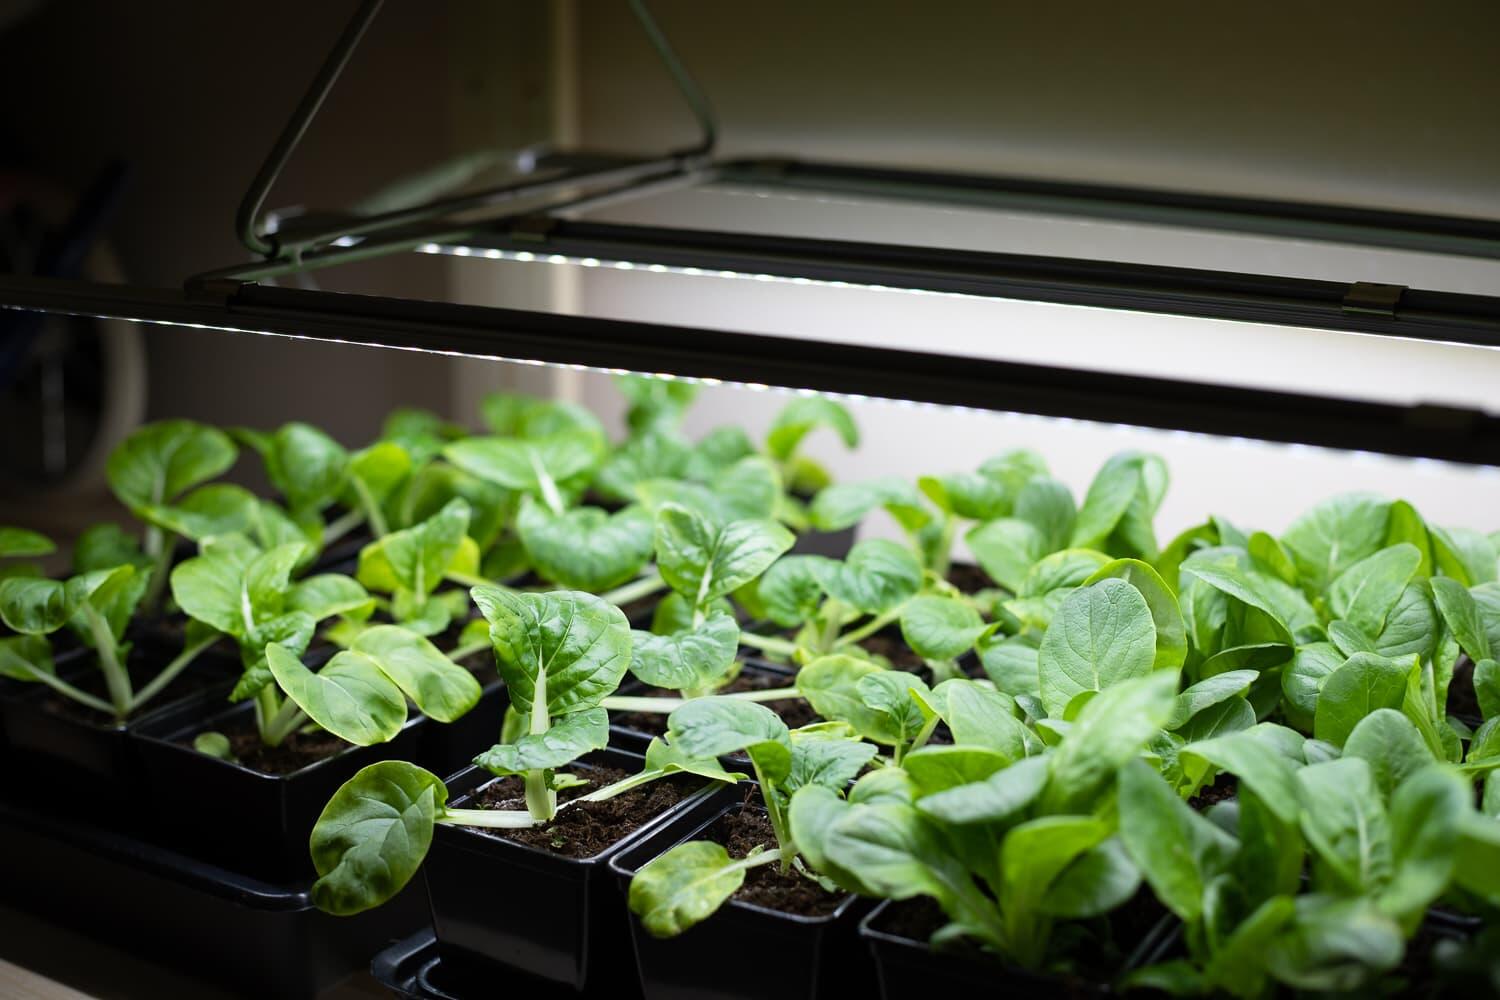
3x Nelson Garden LED Grow Light No.1 60cm 15W with adapter
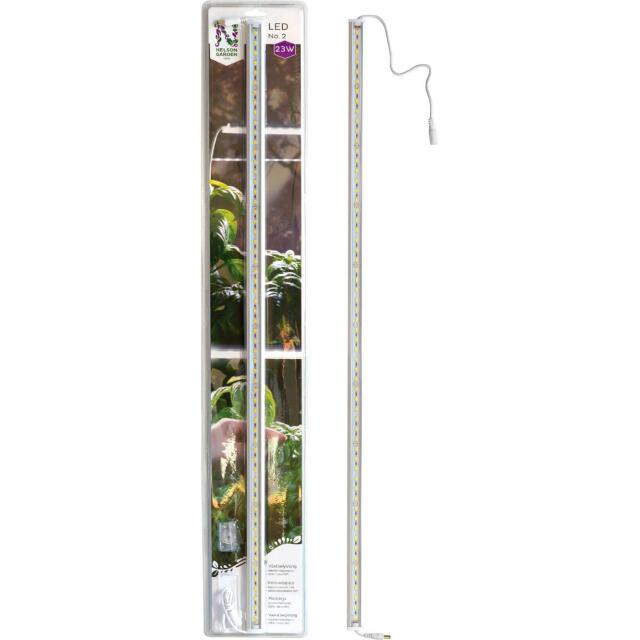
6x Nelson Garden LED Grow Light No.2 60 cm 15W
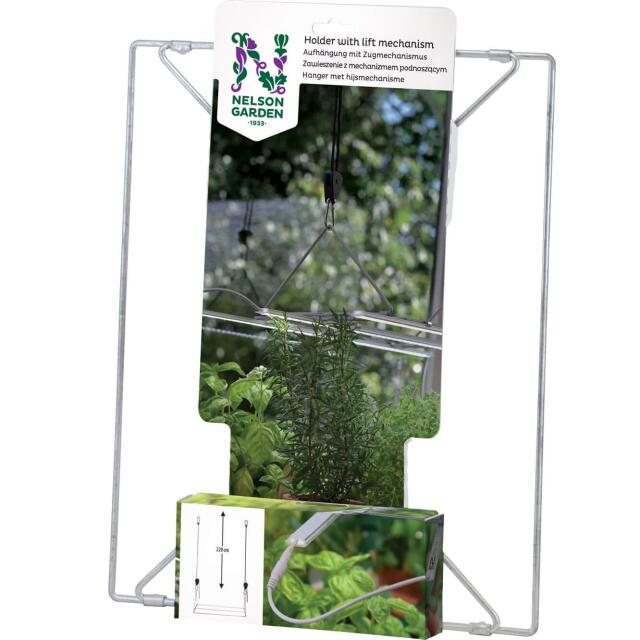
3x Nelson Garden Hanger with lift mechanism
6x Screw Hook 25 mm
1x Power strip
1x Plug-in outlet timer (24H)
How to:
1. Assemble your shelving unit and adjust the shelves so that there is at least 50 cm between them.
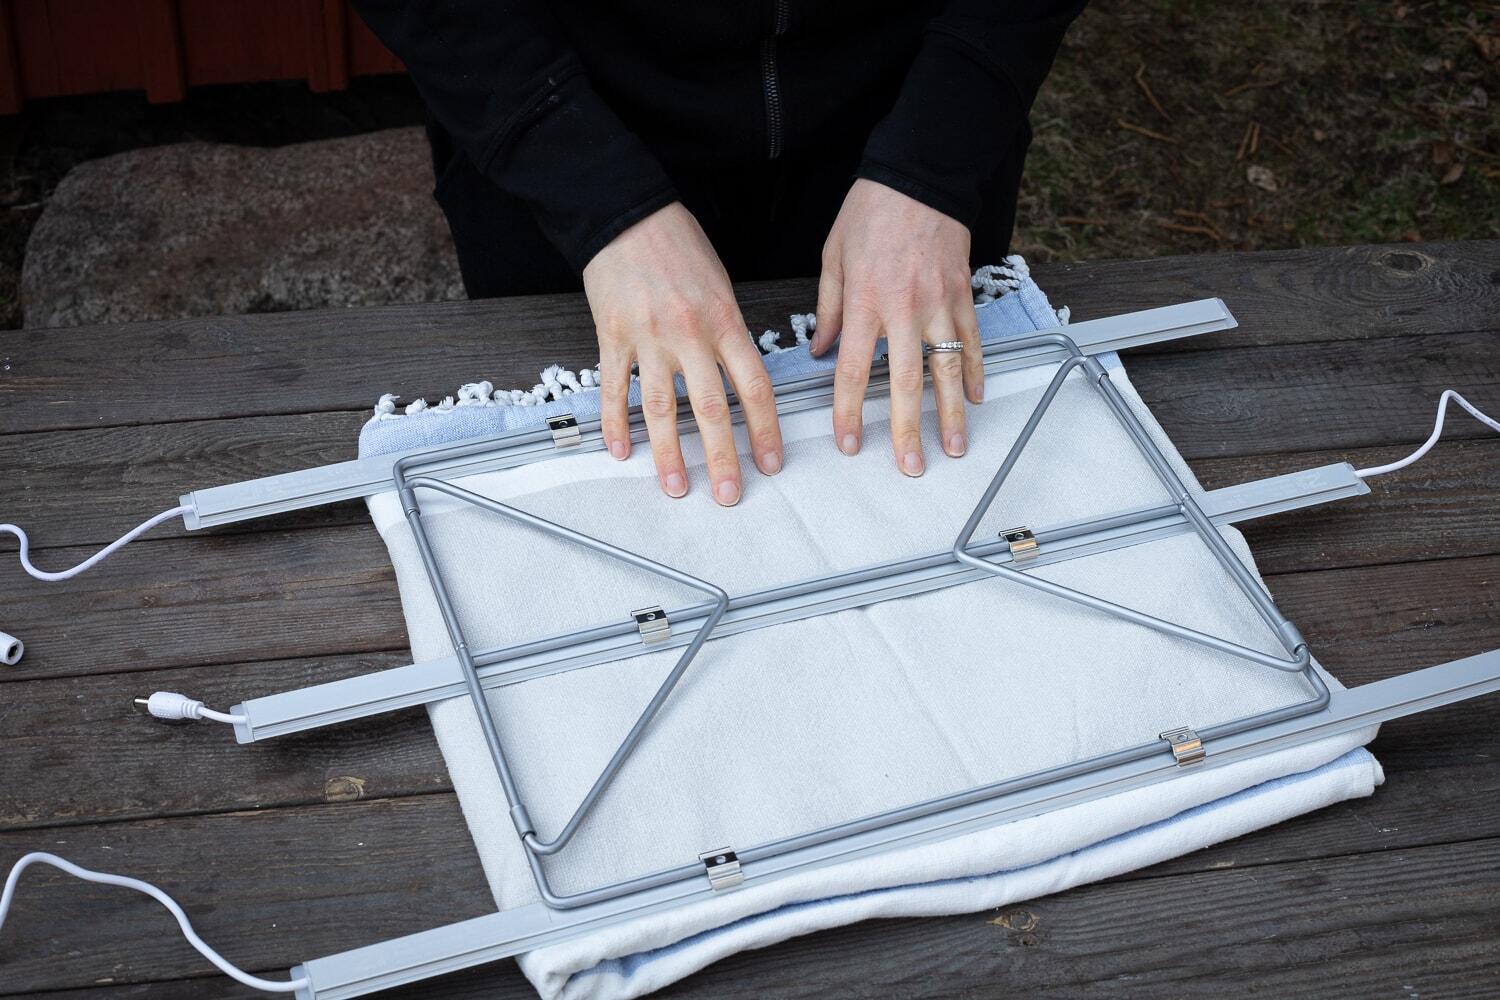
2. Lay out one (1) LED No.1 and two (2) LED No.2 per hanger on a soft surface, such as a towel, on top of a table. Keep in mind the orientation of the lights so that they can be plugged in together.
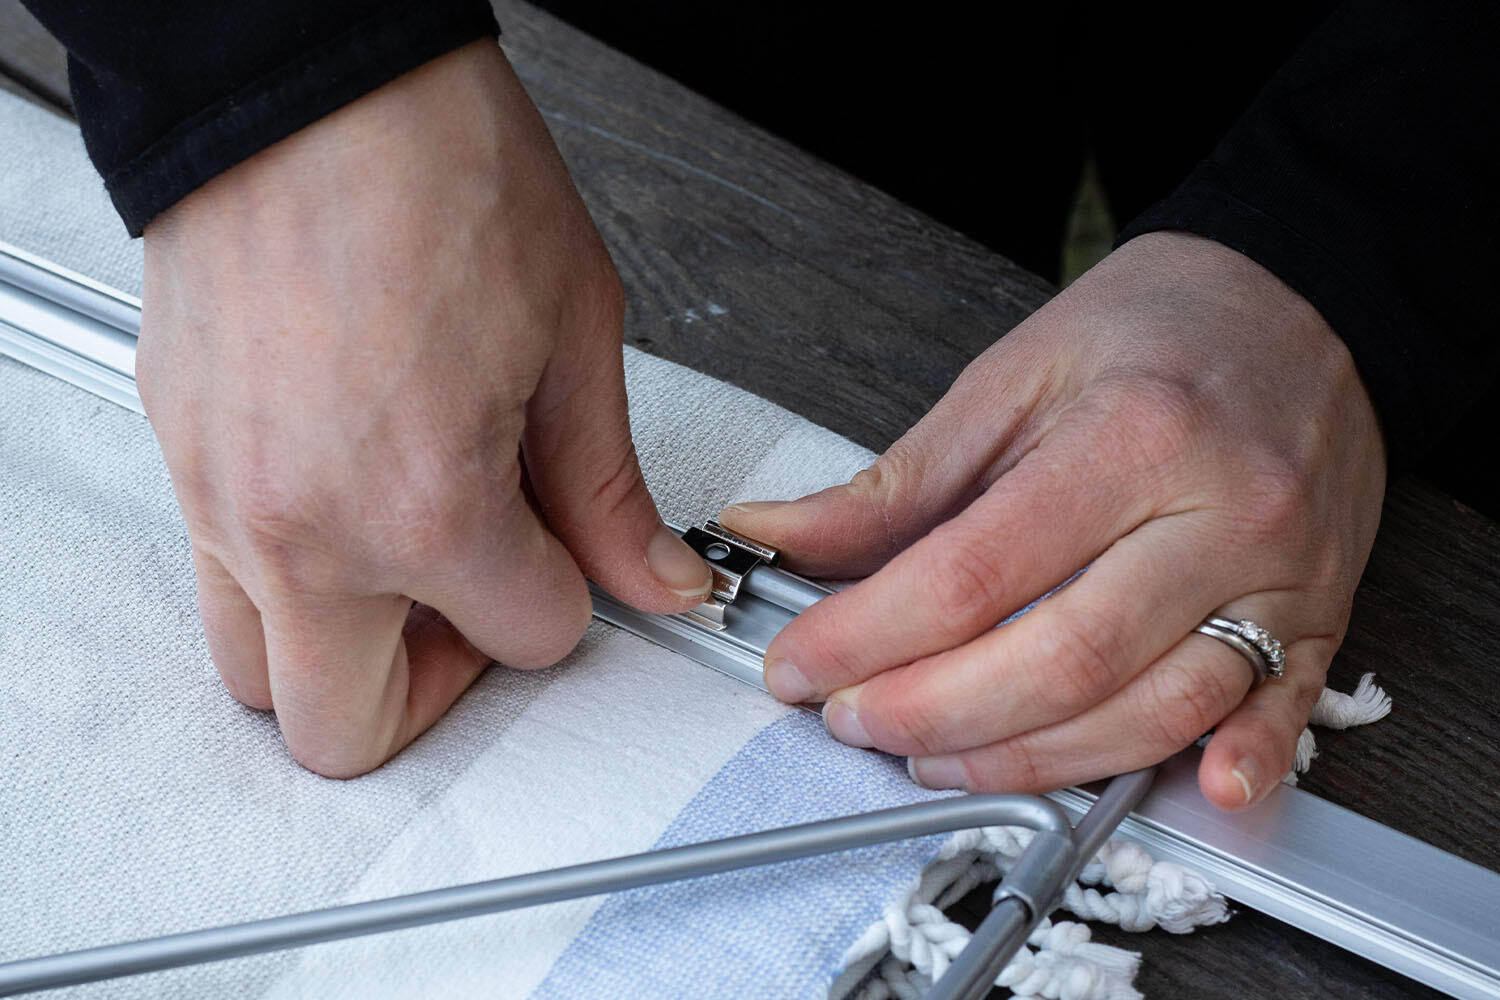
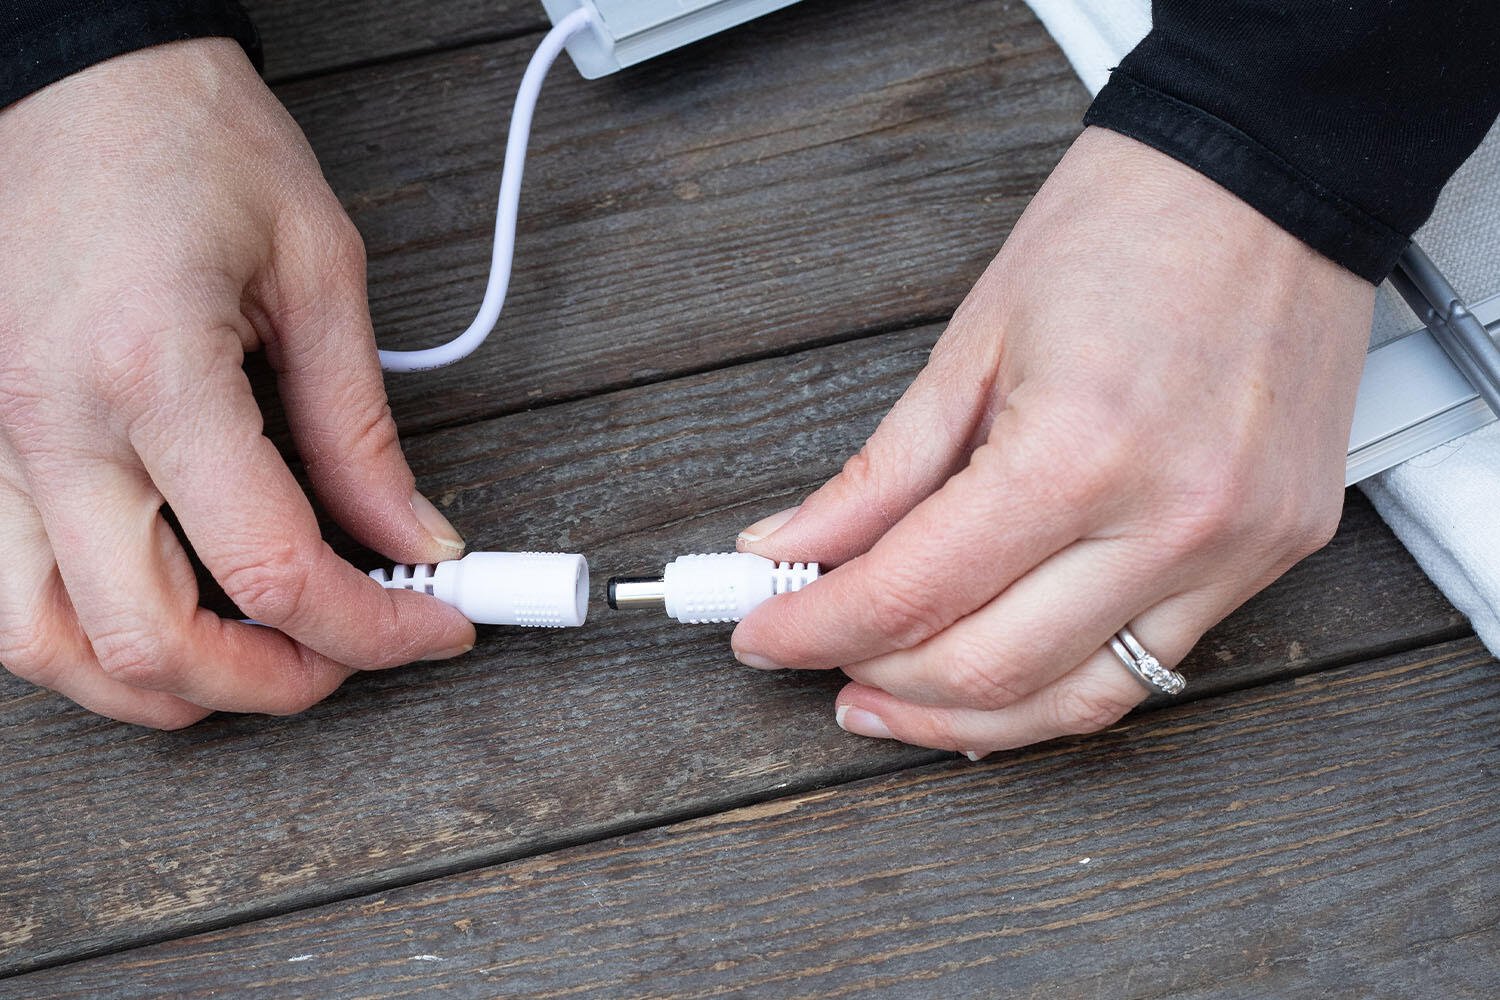
3. Attach the LED lights to the hanger using the included clips. The clips are tight fitting and you’ll need to push quite hard using your fingers. Alternatively, use the tip of a screwdriver to push.
4. Plug the lights together.
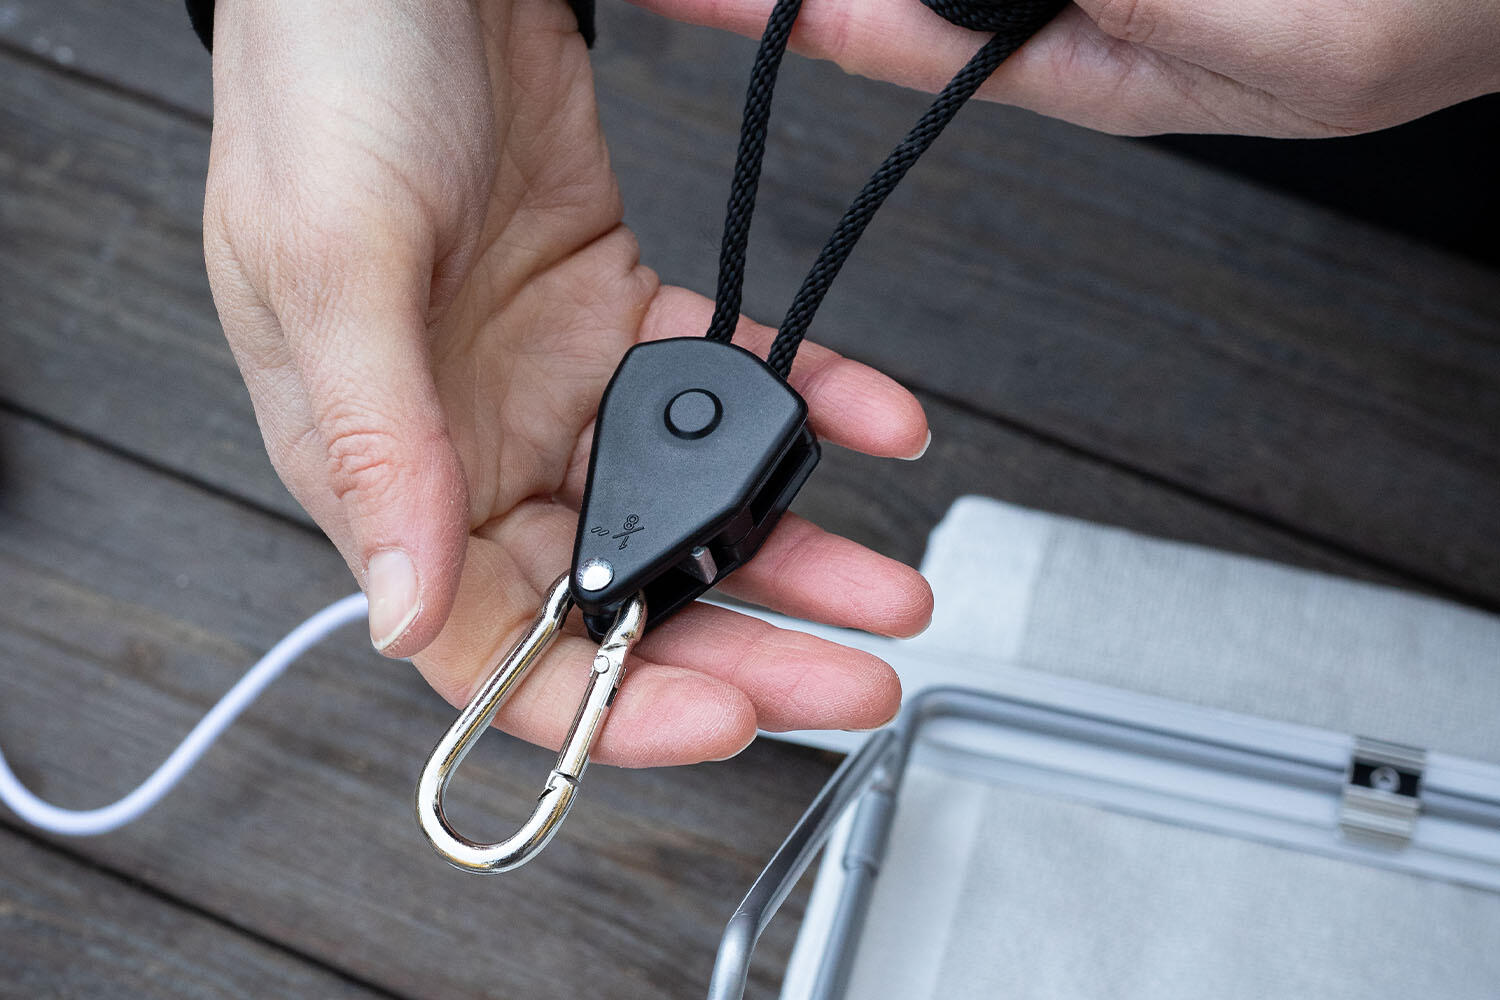
5. Attach the lift mechanism to the hanger with the karabiner that is attached to the actual “lift”.
6. Repeat steps 2-5 for the other two light assemblies.
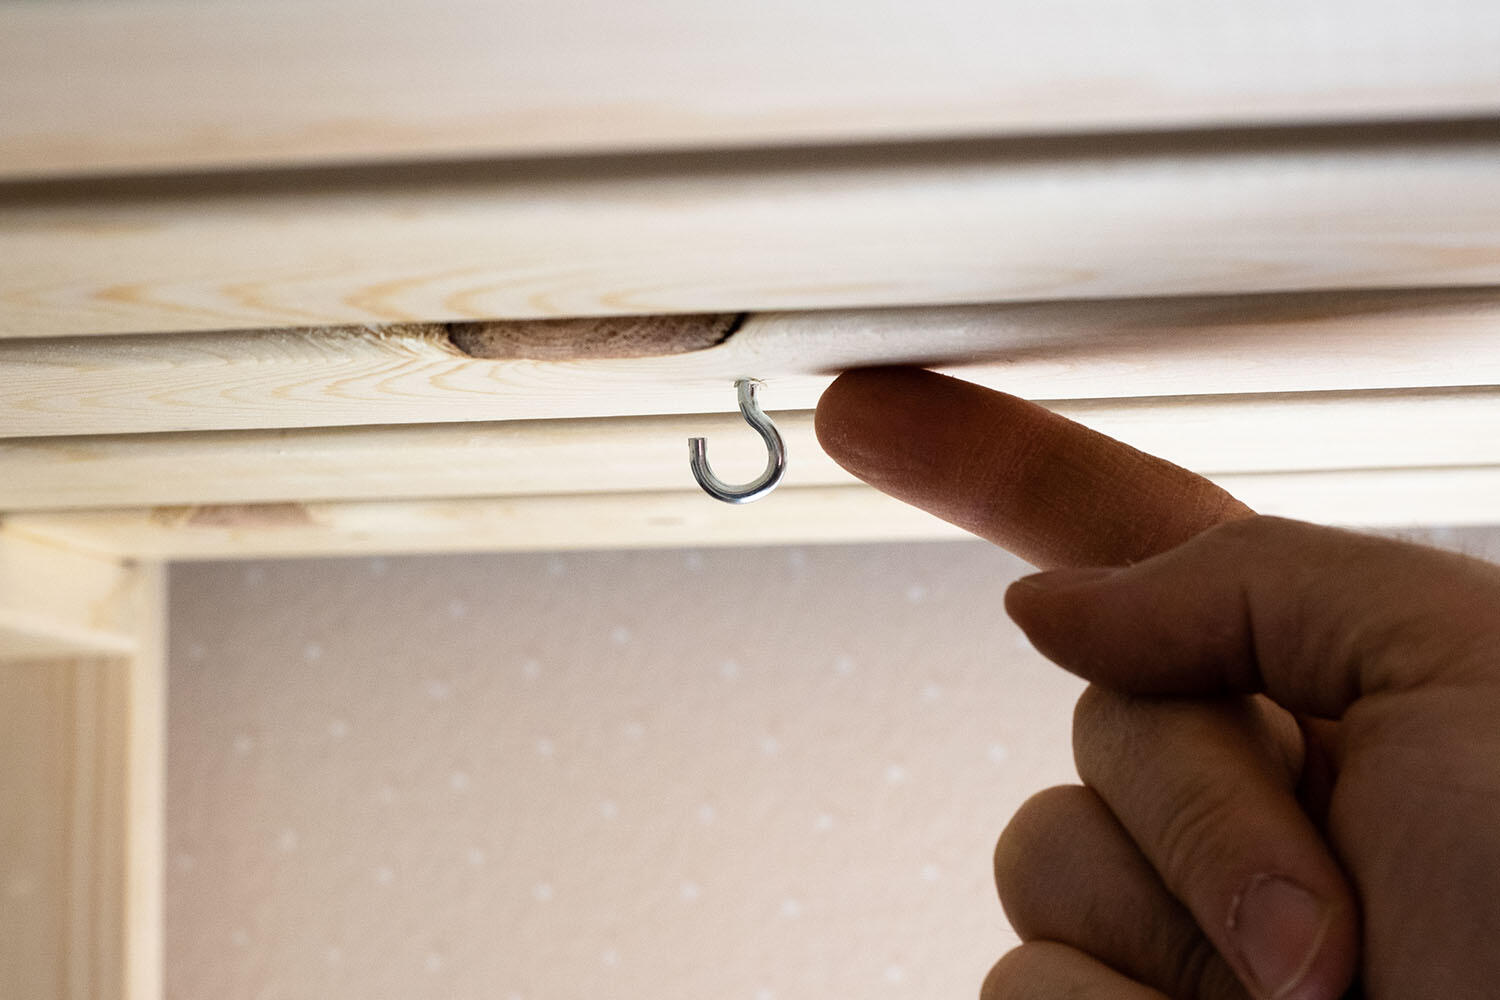
7. Screw the screw hooks into the shelves - two (2) per shelf, spaced 39 cm apart.
8. Secure the hanger to the screw hooks using the string end karabiner or directly off of the string. Note: if you’re short on shelf height, the hanger can be hung directly from the screw hooks, omitting the lift mechanism entirely.
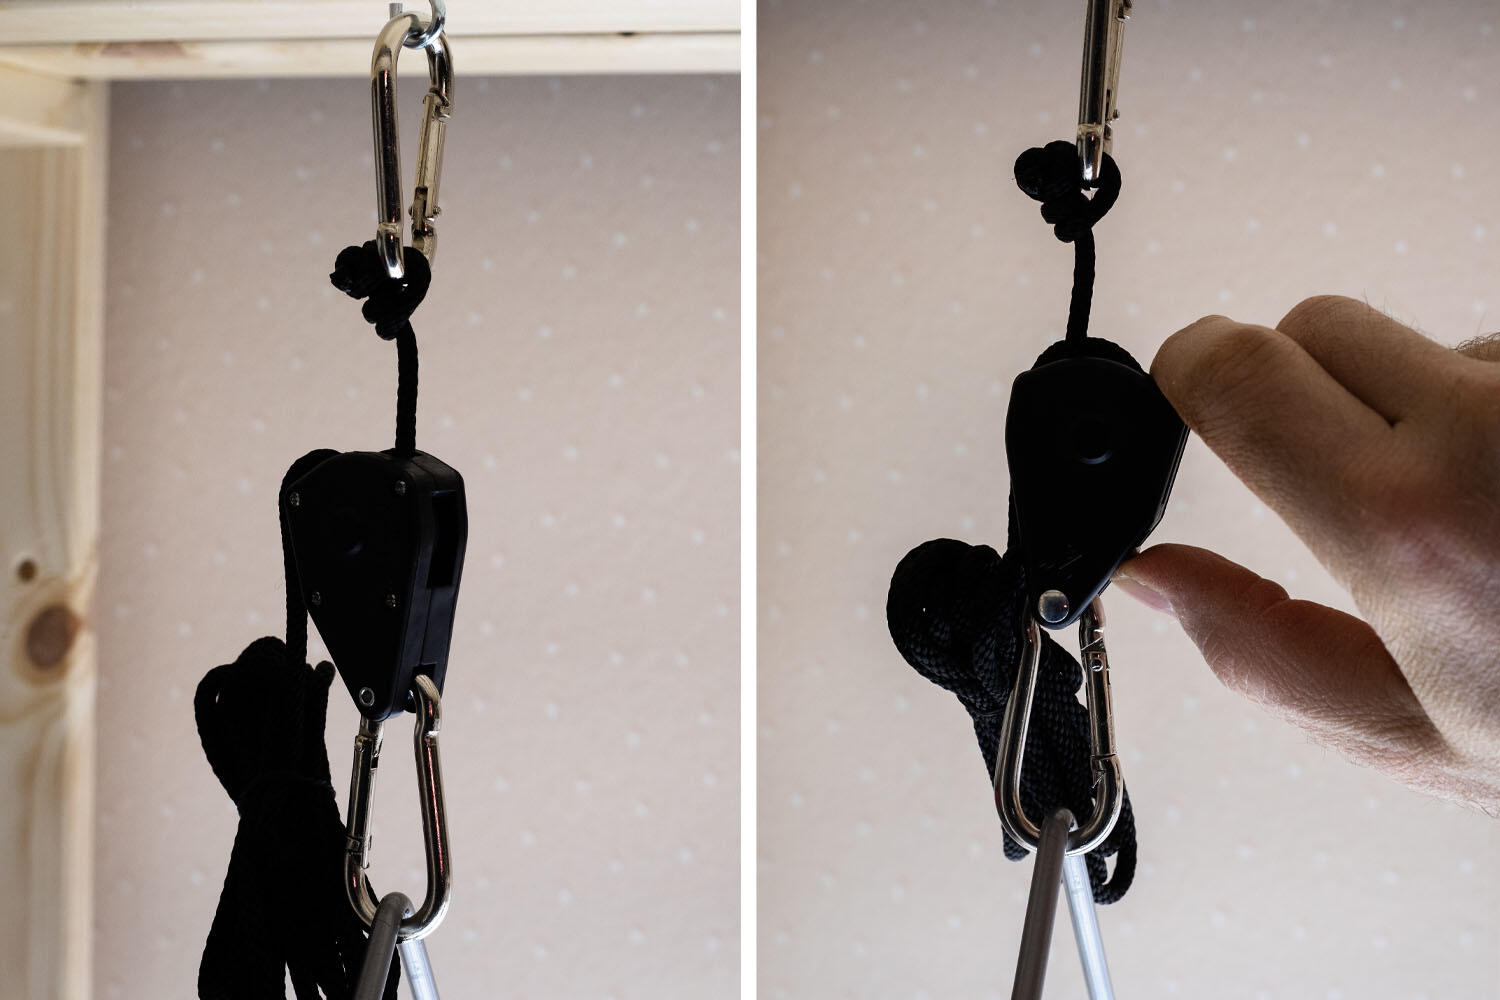
9. Adjust the hanger using the lift mechanism so that the LED lights are about 10 cm above the top of your plants.
10. Repeat steps 8-9 for the remaining two light assemblies.
11. Plug in the three light assemblies into a power strip.
12. Plug the power strip into a plug-in outlet timer (24 H).
13. Adjust the timer so that the lights are on for approximately 14-16 hours.
Note: steps 12 and 13 are optional, as a timer isn’t necessary. Skip these steps if you would prefer turning the lights on and off manually by plugging the power strip into a power outlet as you please.
Vegetable varieties to start indoors
Certain varieties are necessary to start indoors due to a long growing season, such as chili pepper, bell pepper, tomato, eggplant, celeriac and artichokes. Others are fun to sow early to get a head start (even though they can be direct sowed outdoors as well). Examples here include kale, cabbage and lettuce.